Building Your Own Gaming PC: A Step-by-Step Guide to Creating Your Ultimate Gaming Rig
|
|
Time to read 5 min
|
|
Time to read 5 min
Building your own gaming PC can be an exciting and rewarding experience. Not only does it offer the opportunity to customize your system according to your specific needs and preferences, but it also allows for potential cost savings compared to buying a pre-built gaming PC. In this comprehensive guide, we will walk you through the process of building a gaming PC from scratch, covering everything from selecting the right components to optimizing performance.
Before embarking on your PC building journey, it's essential to understand your gaming needs and goals. Consider factors such as the types of games you play, desired resolution and frame rates, and any future upgrades you may anticipate. This will help guide your component selection throughout the building process.
The selection of components is crucial for building a high-performance gaming PC. Let's explore each component category and discuss key considerations when choosing them:
2.1 Processor (CPU): The CPU is the brain of your gaming PC. Consider factors such as clock speed, number of cores, and compatibility with your chosen motherboard.
2.2 Graphics Card (GPU): The GPU is responsible for rendering stunning visuals in games. Research different models, consider VRAM capacity, and ensure compatibility with your monitor.
2.3 Motherboard: The motherboard acts as the central hub, connecting all components. Look for features like socket compatibility, RAM slots, expansion slots, and support for future upgrades.
2.4 Memory (RAM): RAM affects gaming performance and multitasking capabilities. Determine the amount of RAM you need based on the games and applications you use.
2.5 Storage (SSD/HDD): Choose between solid-state drives (SSDs) and hard disk drives (HDDs) for your storage needs. SSDs provide faster load times, while HDDs offer higher storage capacities at a lower cost.
2.6 Power Supply Unit (PSU): Ensure your PSU has enough wattage to support your components and offers high efficiency for stable power delivery.
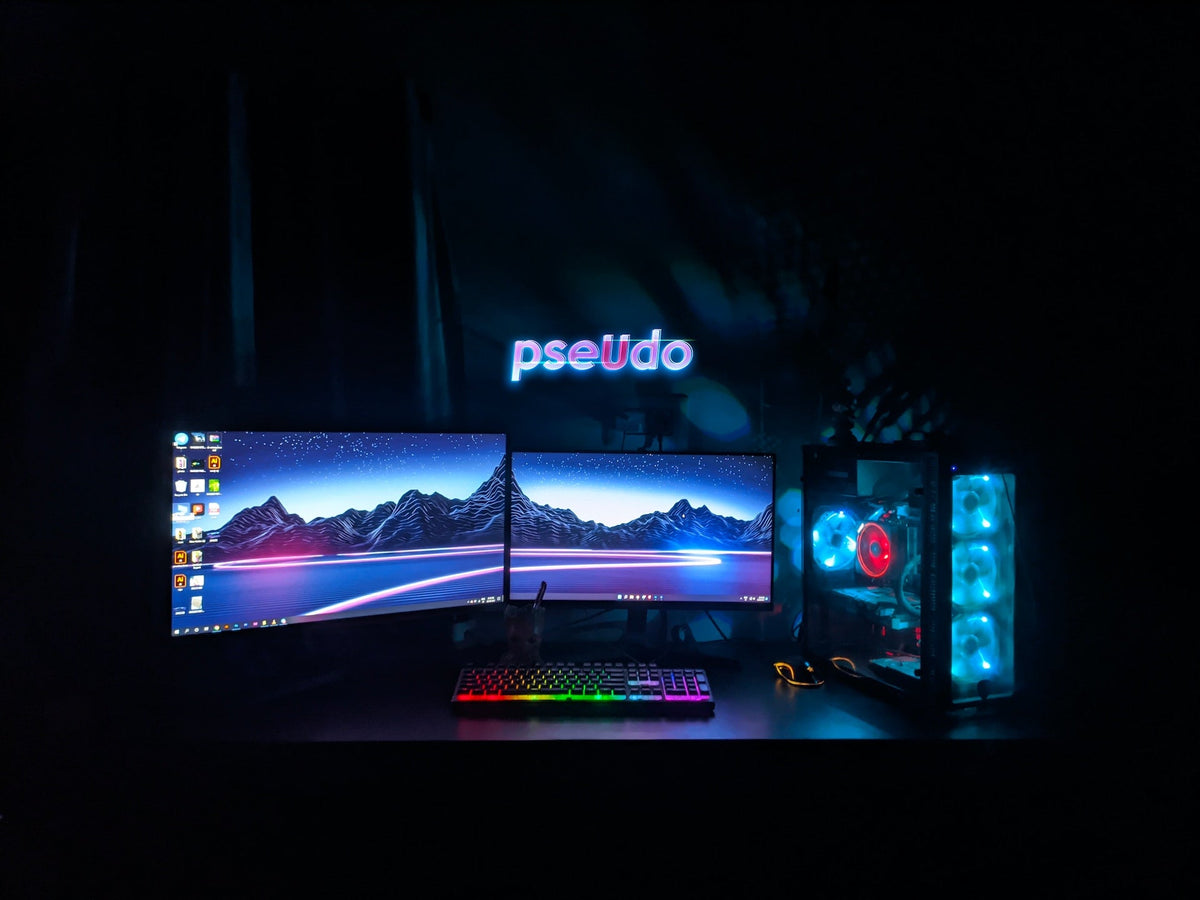
2.7 Case and Cooling: Select a case that accommodates your chosen components and provides adequate airflow. Consider additional cooling solutions such as CPU coolers and case fans to maintain optimal temperatures.
2.8 Peripherals and Accessories: Don't forget about peripherals like a gaming keyboard, mouse, and monitor. Invest in accessories like a gaming headset or controller for an immersive gaming experience.
Now that you have gathered the necessary components, it's time to assemble your gaming PC. Follow these steps to ensure a successful build:
3.1 Preparing the Workspace: Set up a clean and well-lit workspace with a grounded surface. Gather the necessary tools such as screwdrivers, cable ties, and thermal paste.
3.2 Installing the CPU and CPU Cooler: Handle the CPU with care and align it correctly in the socket. Apply thermal paste and attach the CPU cooler, ensuring proper cooling performance.
3.3 Installing the RAM: Insert the RAM modules into the motherboard's RAM slots, following the manufacturer's guidelines. Ensure they are securely seated.
3.4 Installing the Storage Devices: Mount your SSDs or HDDs in the appropriate drive bays. Connect the necessary cables to the motherboard and power supply.
3.5 Installing the Graphics Card: Insert the graphics card into the PCIe slot, ensuring it clicks into place. Connect the necessary power cables to the GPU.
3.6 Connecting the Cables: Connect the various cables, including power cables, data cables, and front panel connectors, according to the motherboard and component instructions.
3.7 Installing the Power Supply: Install the power supply in the designated area of the case. Connect the necessary cables to the motherboard, storage devices, and graphics card.
3.8 Installing the Case Fans: Mount case fans for optimal airflow, ensuring they are properly connected to the motherboard or fan controller.
3.9 Cable Management: Organize and route the cables neatly to improve airflow and aesthetics. Use cable ties or Velcro straps to secure and manage the cables.
3.10 Final Checks: Double-check all connections, ensure components are seated properly, and verify that cables are correctly connected.
Once your gaming PC is assembled, it's time to power it on and configure the BIOS. Follow these steps:
4.1 Powering On: Connect the power cable and peripherals. Press the power button to turn on your PC and listen for the startup beep or see the lights turning on.
4.2 BIOS Setup: Access the BIOS by pressing the designated key during startup. Configure settings such as boot priority, date and time, and enable XMP profiles for RAM.
Install your chosen operating system (Windows, macOS, or Linux). Afterward, install the necessary drivers for your components to ensure proper functionality.
To maximize your gaming PC's performance, consider the following optimization techniques:
6.1 Overclocking: If you're comfortable with it, overclock your CPU and GPU to achieve higher clock speeds and performance. Research proper overclocking methods and use reputable software or BIOS settings.
6.2 System Monitoring: Utilize software tools to monitor your system's temperature, clock speeds, and usage. This helps you ensure that components are operating within safe parameters.
6.3 Driver Updates: Regularly update your graphics card drivers and other essential drivers to ensure compatibility, stability, and performance improvements.
6.4 Software Optimization: Optimize your operating system by disabling unnecessary background processes, optimizing power settings, and keeping your system clean from malware or unnecessary software.
If you encounter issues during the building process or while operating your gaming PC, try these troubleshooting tips:
Building your own gaming PC is a rewarding experience that allows for customization and potential cost savings. By following this step-by-step guide and considering your gaming needs, you'll be well on your way to creating the ultimate gaming rig. Enjoy the process, and may your gaming adventures be filled with excitement and high-performance gaming experiences!
Building your own gaming PC is an adventure that combines creativity, technical knowledge, and a passion for gaming. By carefully selecting the right components, following the step-by-step assembly process, and optimizing your system for performance, you can create a gaming rig tailored to your specific needs and preferences. Embrace the journey, and may your gaming experiences be elevated to new heights with your self-built gaming PC.


